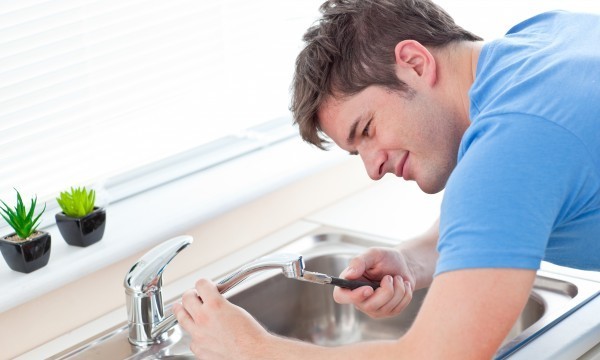
How often have you turned on the tap today without thinking twice? From cooking to cleaning, we depend on the faucets in our home to work. If yours are ready to be replaced, Flush Masters Plumbing has some simple-to-do installation advice.
Time: 1 hour
Frequency: As required
Difficulty: Moderate
Tools: Basin wrench, adjustable wrenches, small bucket, caulk or plumber’s putty
Drip, drip, drip. That’s the irritating sound coming from the leaky faucet in your kitchen or bathroom. If you have a kitchen faucet that’s old and outdated, or your bathroom faucet is corroded or leaking, you may want to consider replacing it and installing a new one.
Why?
Leaks in your plumbing can result in structural damage and unnecessary costs due to a high water bill.
The good news?
Installing a faucet is a moderately easy and inexpensive task that can be handled by most DIYers.
So where should you begin?
Step 1: Prepare your workspace
Before you begin to remove your old faucet, you may want to:
- Look beneath your sink to see how many holes your existing faucet has. This will help determine what type of faucet you need to buy.
- Clear out and clean the area beneath your kitchen sink. To make things easier, you may want to put down a couple of towels to lie on and/or grab a flashlight.
- f your sink has a garbage disposal, you should turn it off or unplug it at this point.
- Make sure that all of the pieces are present and in good condition in the box in which your new faucet came.
Good to know!
Before proceeding further, read the manufacturer’s instructions that comes with your new faucet. Not all models are made exactly the same.
Step 2: Disconnect the water supply lines
Turn off the water valves and use your wrench to loosen the nuts on the supply lines.
- If you’re unsure about whether to turn the valves clockwise or counter-clockwise, turn on the sink and watch to see how the water loses pressure as you make adjustments. Turning on the water also helps to ease any pressure in the lines.
- Place a small bucket beneath the water supply lines to catch any running water.
- After you use your wrench to loosen the nuts a bit, you can most likely just use your fingers to unscrew them the rest of the way. Then, gently pull apart the pieces to disconnect the lines.
Step 3: Remove the old faucet from the sink
Use your basin wrench to remove the nuts that are holding the faucet in place. Next, pull the old faucet up and out of the sink and set it aside.
- If applicable, uninstall and remove the sprayer hose prior to pulling the faucet out of the sink.
- Having a partner hold the faucet in place from above may make removing the nuts easier.
- After you remove the old faucet, you’ll want to clean the area where it was in place.
Good to know!
It’s possible that you may encounter some issues at this point of the process, including corroded pipes or hard-to-reach nuts. If these become too much of a obstacle, you may need to reach out to an expert.
Step 4: Install the new faucet
Place the gasket or trim ring over the facet holes and set the deck plate. Then, feed the faucet lines through and install the washers or nuts beneath the sink.
- Depending on the model of your specific faucet, you may have to use caulk or plumber’s putty to create a waterproof seal for the gasket. Make sure to wipe away any excess caulk or putty beneath the sink.
- Again, having a partner hold the faucet in place from above while you tighten the nuts underneath may be helpful for a straight and easy installation.
- If your new faucet comes with a sprayer hose, at this point you should also install that by putting the parts together and feeding the line through.
Step 5: Connect the supply lines
Connect the hoses and turn on the water valves.
- If necessary, use plumbers’ tape to secure the connections for threaded joints with no rubber seal.
- Be careful not to tighten the supply lines too much. Over-tightening the lines could result in warped or damaged tubes.
- If applicable, you can also go ahead and plug in the garbage disposal.
Step 6: Check for leaks
Turn on the faucet and thoroughly check the area under the sink for leaks and make any necessary adjustments.
- Check to make sure the hot and cold water, as well as the sprayer hose, work.
- If you find leaks, just tighten the connections slightly until the leakage stops.
- You may also want to temporarily remove the aerator from the faucet and let the water run without it for a few minutes. This helps to clear the lines.
Having a leaky or outdated faucet may seem like a fairly minor issue, but the truth is, failing to replace a broken fixture can result in serious long-term damage. As well, small renovations can drastically improve the overall appearance and functionality of your home. By using this simple guide to installing a faucet, you can make repairs to the plumbing in your kitchen or bathroom in only an hour’s time. If you need assistance always Call Flush Masters Plumbing & Drains, 403.332.3018
